

1. Go to https://aws.amazon.com/free/ and signup for a Free Tier Account.
2. Once you have your account settled, it should send you to the AWS Management Console.
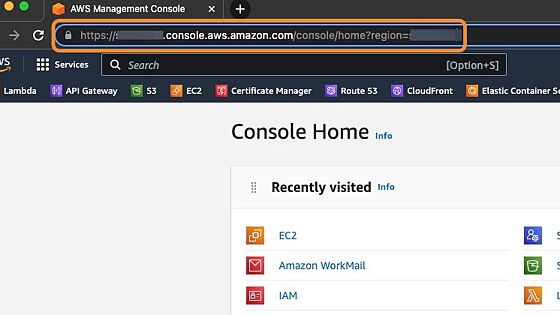
Alert! AWS changes its dashboard layout quite frequently! This tutorial's latest update was made in February 2023 but if you're seeing this in the future, where you click and how things look may have changed.
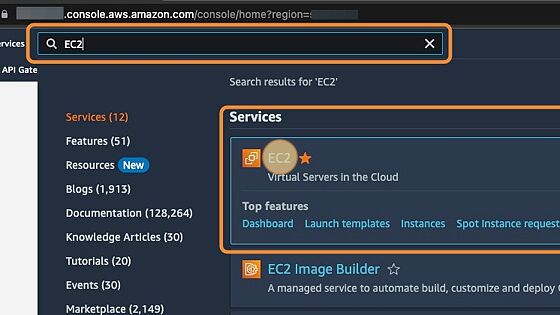
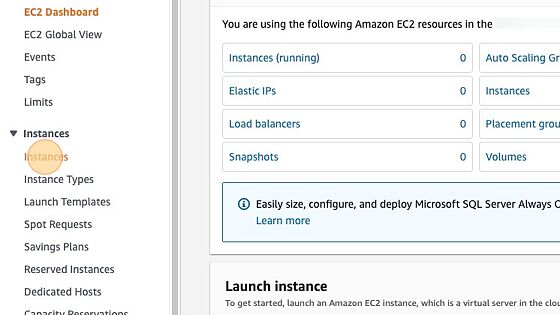
3. Search for EC2
4. In the EC2 Dashboard, click on Instances
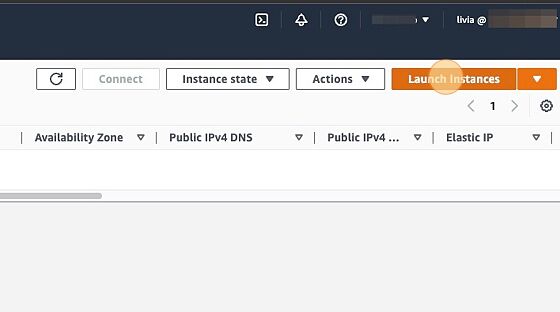
5. Launch Instance
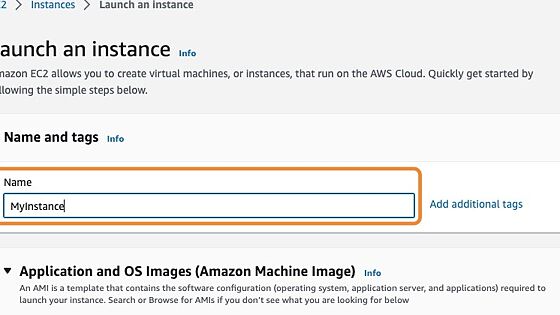
6. Give your instance a name (Optional step)
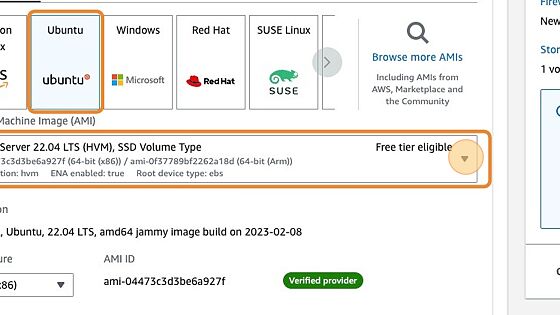
7. Choose a Linux distribution. We're going with the popular Ubuntu server
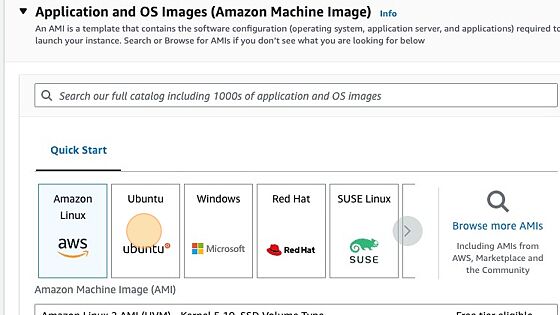
8. Select a free-tier eligible Ubuntu image, and go for the latest LTS (long-term support) version.
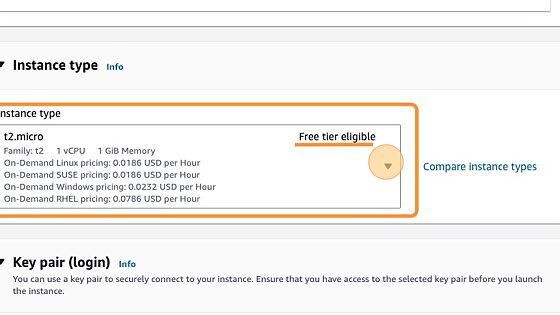
9. Select a free-tier eligible instance type. That will depend on how much machine power you need. For the Linux Upskill Challenge, Ubuntu runs just fine with a t2.micro instance.
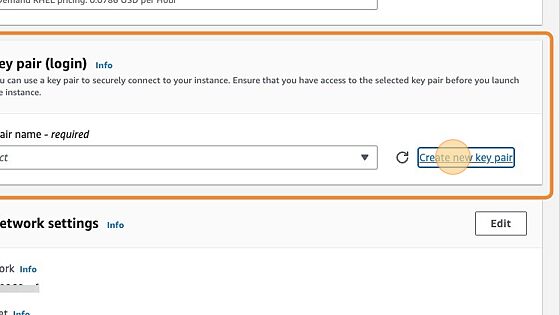
10. Now let's prepare to access this instance later! We need to create a new key pair.
11. Give the key pair a name easy to remember.
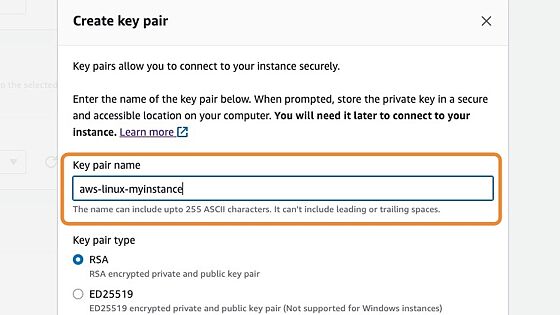
12. The key pair type determines what type of Host key we're using. Since our host (instance) is Linux, we can use either RSA or ED25519 cryptography. Both are fine for a first instance, but ED25519 keys are known for being more secure and performant than RSA keys.

13. Now we're getting to the Client key, the key you will be using to fire up that connection from your personal computer. This is quite simple: if you are using Windows, choose .ppk; if you're using Mac, choose .pem
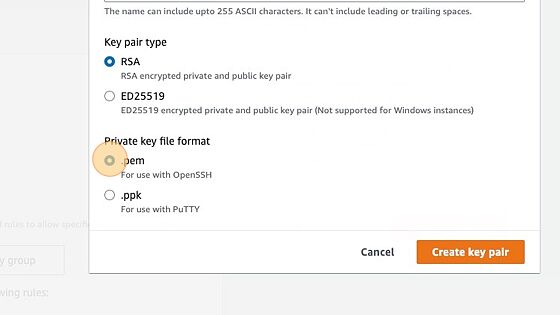
14. All good? Create key pair. The file for your client key will be generated and it will be prompted for download. Download it NOW! You won't be prompted again.

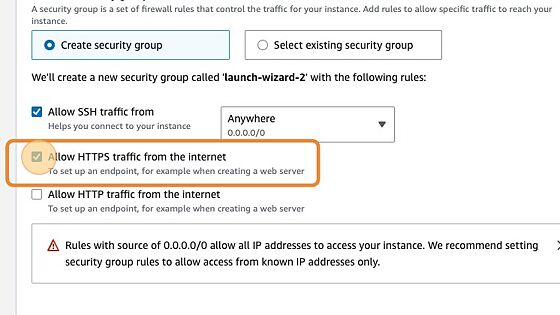
15. A security group is a way to control incoming and outgoing traffic to your instance, like a virtual firewall. This is not the same as blocking ports in your server, the security group rules will allow/deny access before you can get to the server.
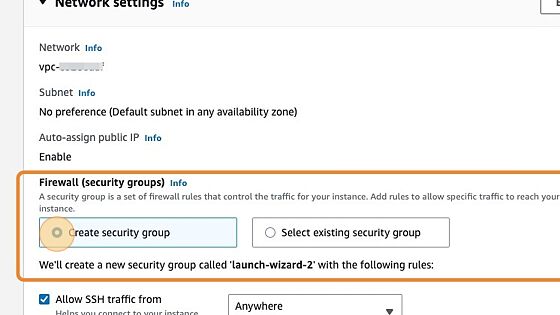
Alert! Rules allowing traffic from anywhere are very open and you'd be bypassing a layer of security AWS provides you. However, this is not the only layer of security your instance has.
For the Linux Upskill Challenge students:
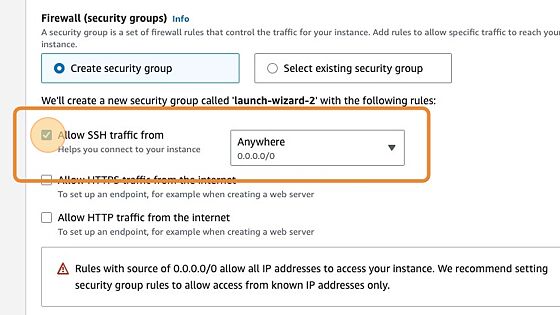
Enable traffic for SSH, HTTP and HTTPS from ANYWHERE
Sounds dangerous but it will give you lots to tweak during the challenge, trust me.
16. You just created a SSH key pair, allow SSH traffic.
17. If you intent to create serve a website with basic HTTP access, enable HTTP traffic
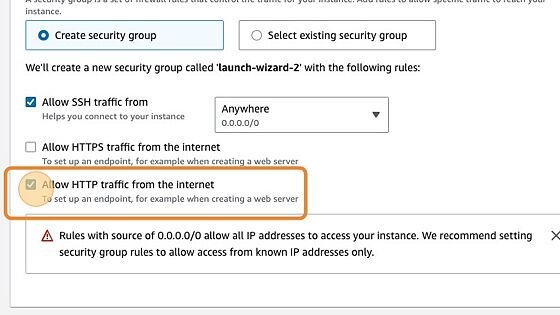
18. If you intent to create serve a secure website with HTTPS access, enable HTTPS traffic
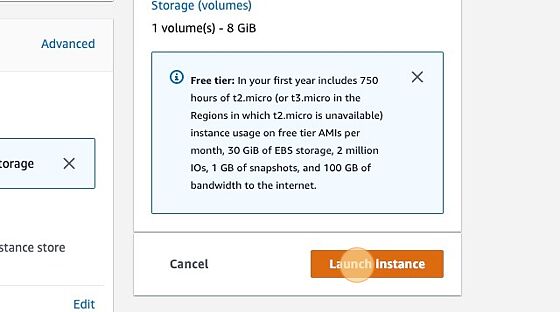
19. This is automatically filled when you select the instance type, so don't worry about it. Fun fact: although Ubuntu minimum storage requirements doesn't exceed 2GB, AWS needs some room for snapshots and will not allow less than 8GB.
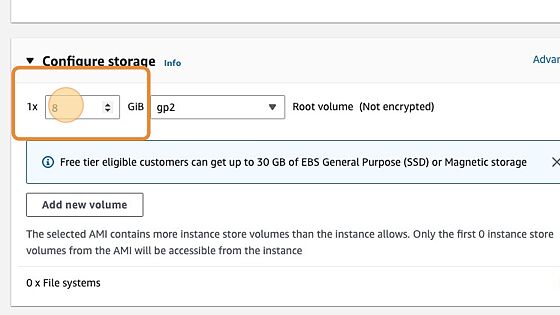
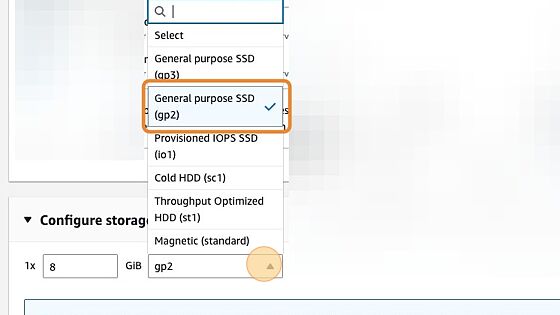
20. The type of storage is also picked according to the type of instance, but just so you know, this will be a general purpose SSD.
21. You can pick the number of instance to launch in the Summary section, as also review your setup.
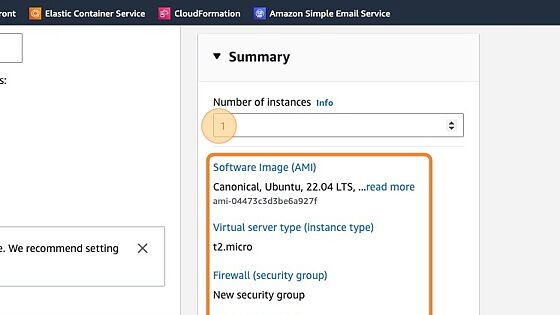
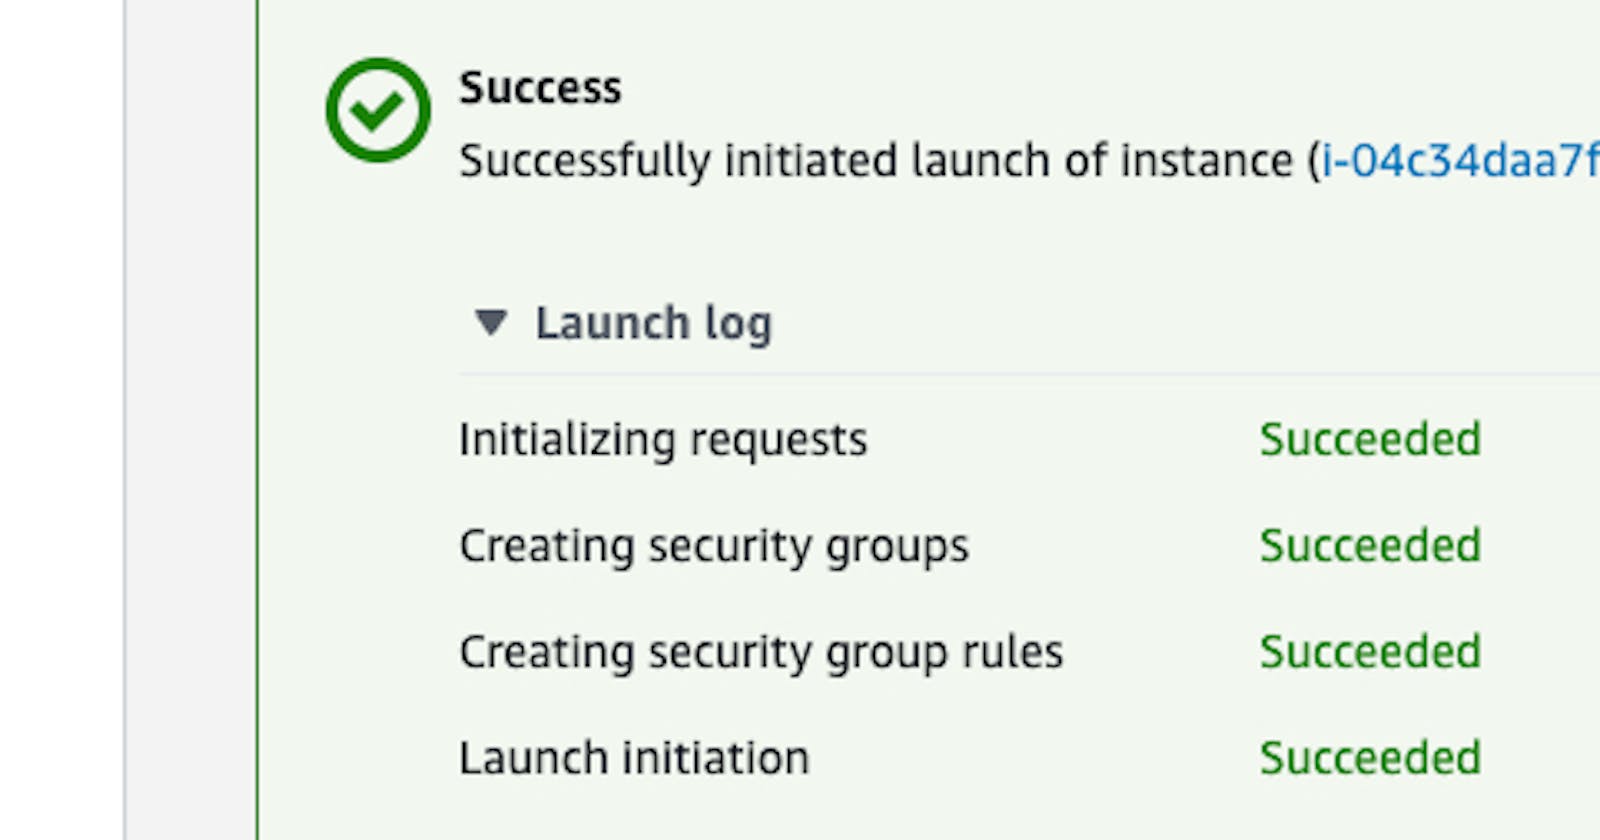
22. Launch!
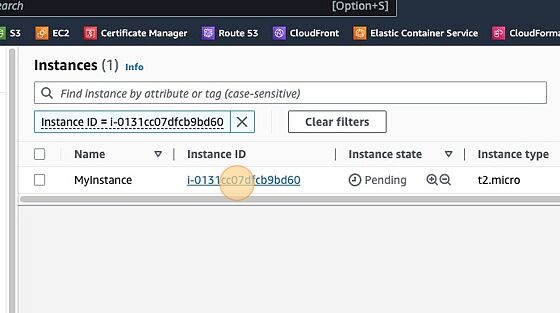
23. When the instance is done launching, it will receive an instance id and you can click to see it your dashboard.

24. Click on the instance id to see more details.
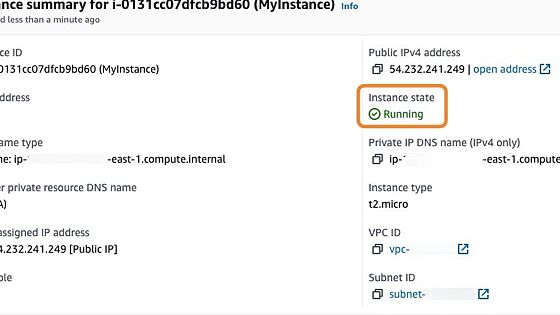
25. If the instance is good for connection, it will show the instance state as Running
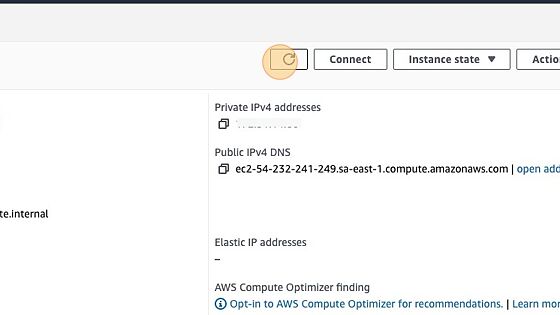
26. If it's still showing Pending, give it a few minutes and refresh the instance panel by clicking on the refresh button.
27. When the instance is Running, you can now Connect.
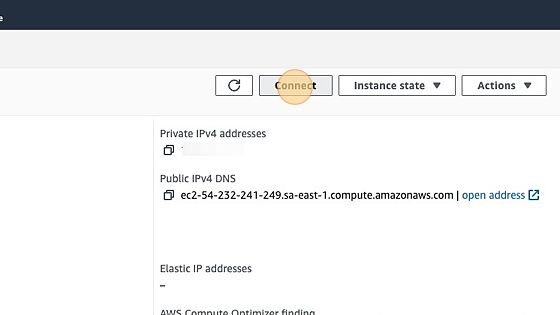
Alert! Not all connection methods will be available for all types of instances and some methods will require additional configuration.
28. EC2 Instance Connect is a very convenient way to connect to your instance, but it does not support all Linux distributions or all AWS regions.
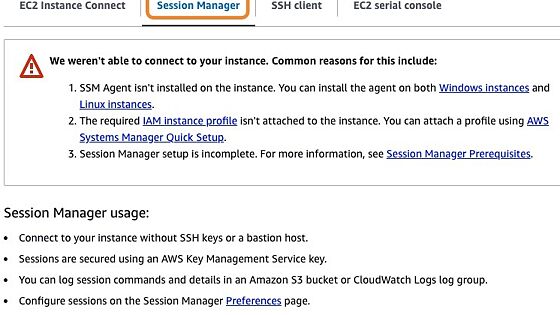
29. To connect using Session Manager, you have to set it up first.
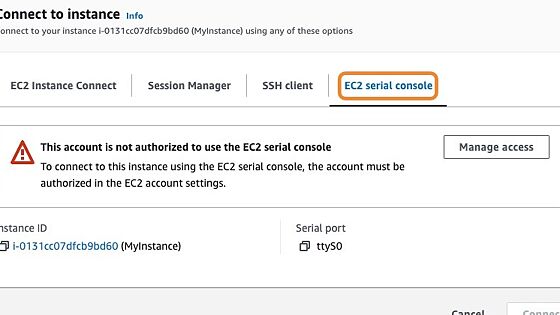
30. EC2 serial console requires even more setup, that includes granting account access to the serial console and configuring IAM policies.
31. Now, the good one! Using a SSH client you can connect from Mac, Windows or another Linux and it will be the same for all of them.
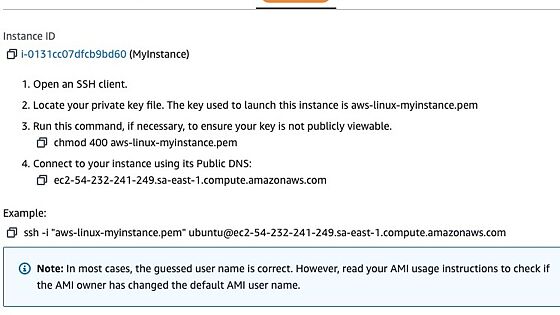
32. Locate the private key and set the permissions so that only you can read the file, for security reasons.
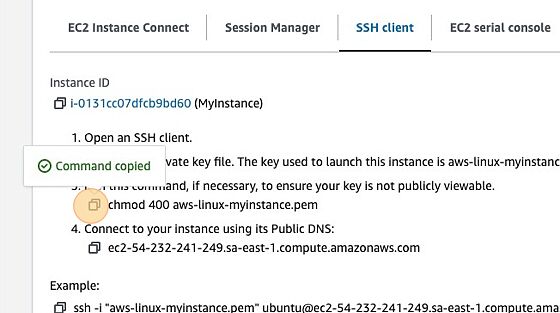
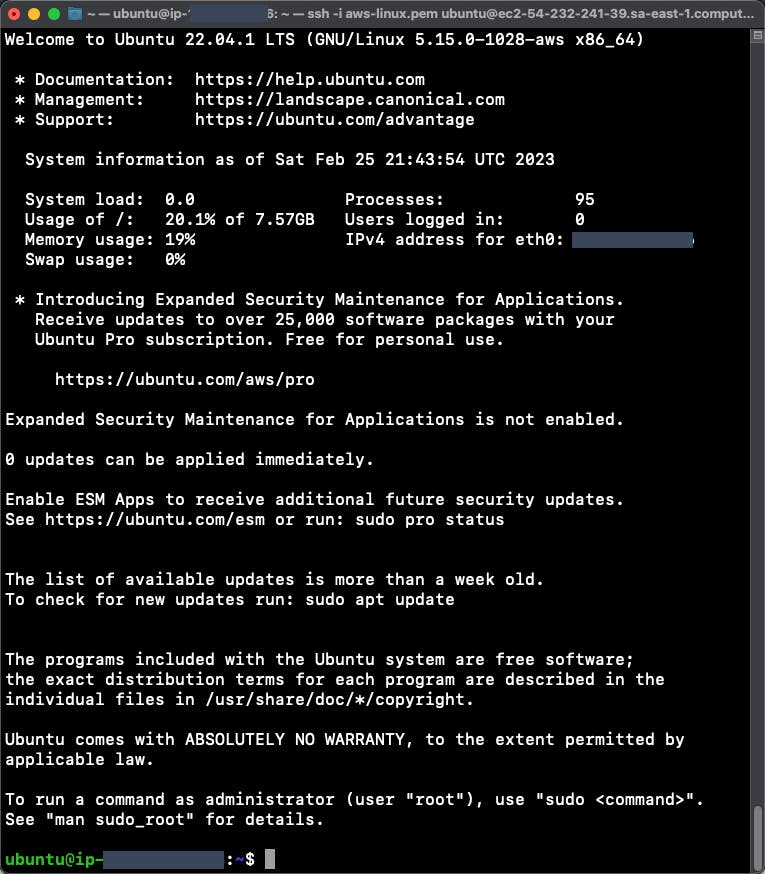
33. And finally, connect to your Linux instance using the SSH client of your choice.

34. This is what your first Linux server will look like in the terminal: